A Step-by-Step Transformation of Your Floor
At Pro-Line Epoxy Flooring, we specialize in bringing beauty and durability to commercial and residential floors across Michigan. Our professional epoxy coating installation process ensures a seamless experience and a stunning, long-lasting finish. Here’s a closer look at what you can expect:
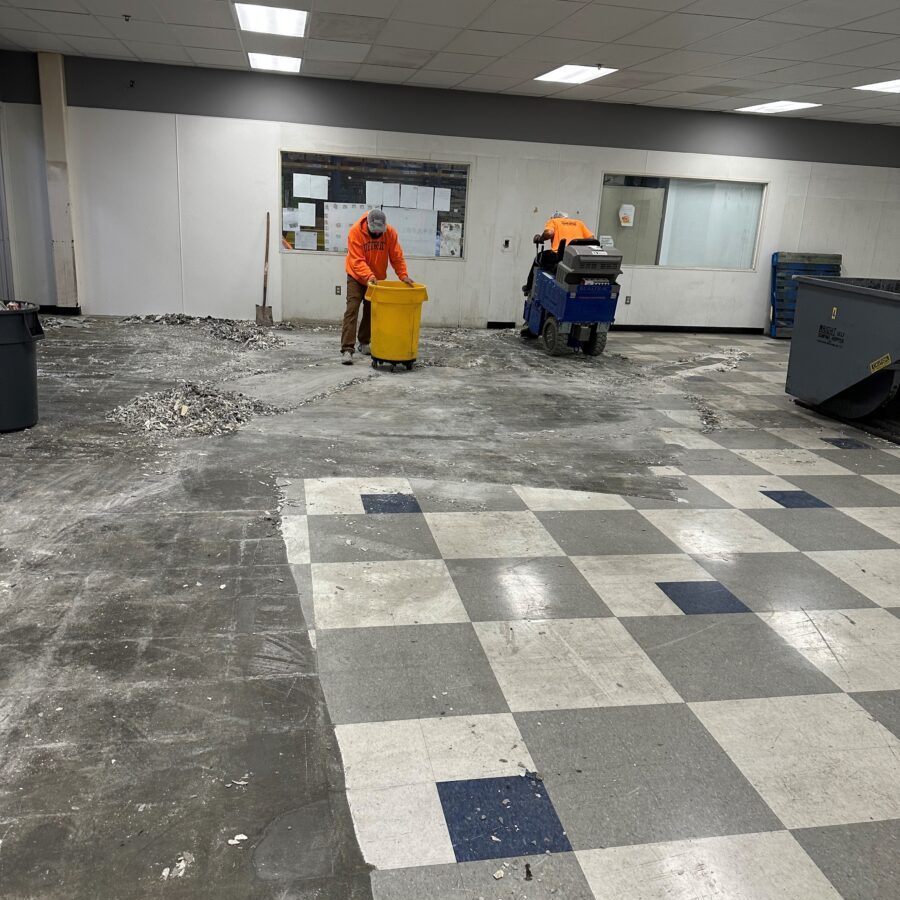
Step 1: Meticulous Surface Preparation For A Clean & Sound Foundation
A flawless floor starts with a flawless foundation. Our team meticulously cleans your existing concrete, removing dirt, debris, grease, and any lingering traces of past coatings. This crucial step ensures optimal adhesion for the epoxy. Cracks, chips, or uneven surfaces are expertly repaired to create a smooth, level base.
A successful epoxy application hinges on a meticulously prepared surface.
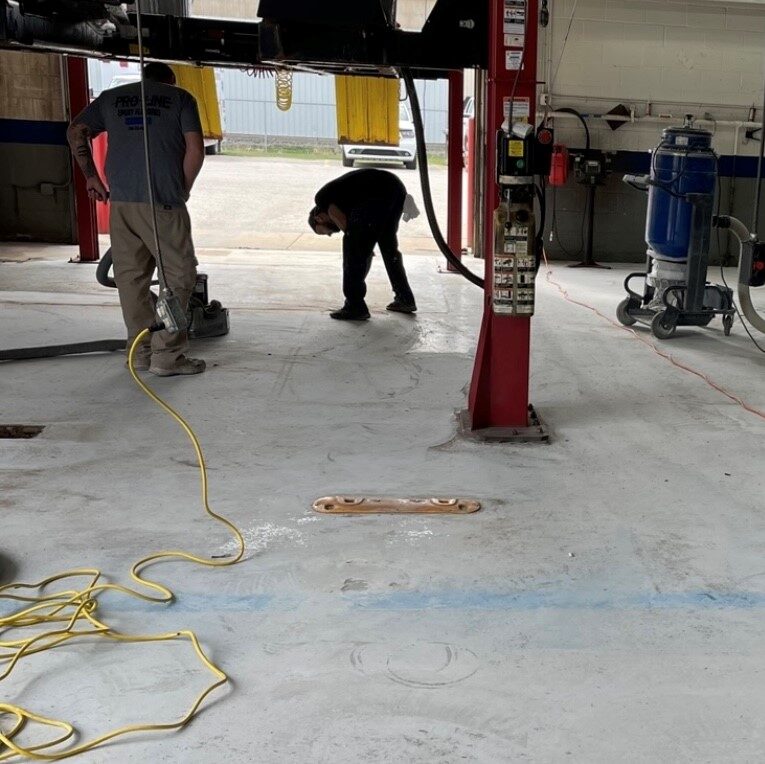
Step 2: Diamond Grinding – Unveiling the Floor’s Potential
Using specialized diamond grinding equipment, we meticulously grind the concrete surface. This process removes a thin layer, creating a textured profile that enhances the epoxy’s bond with the floor. Diamond grinding also removes any paint or coatings that may have been missed during the initial floor preparation.
Step 3: All-in-One Primer for Moisture Control and Adhesion
Moisture vapor in your concrete can negatively impact the epoxy coating. To prevent this, we use a specially formulated moisture barrier primer. This primer acts as an all-in-one solution, addressing moisture concerns and promoting a strong bond between the epoxy and the concrete floor. Our team will assess your concrete subfloor and determine if this primer is the best solution for your project.

Step 4: The Epoxy Magic – Expert Coating Application
Our trained professionals skillfully mix and apply the epoxy resin according to the manufacturer’s specifications. Depending on your chosen design, multiple coats may be necessary. We utilize specialized tools and techniques to ensure a consistent, flawless application across the entire floor. This is the exciting part – creating your beautiful new floor!
- Mixing the Epoxy: We meticulously mix the high-quality epoxy resin and hardener according to the manufacturer’s specifications.
- Base Coat Application: Using specialized tools and techniques, we ensure a smooth and even application of the base epoxy coat.

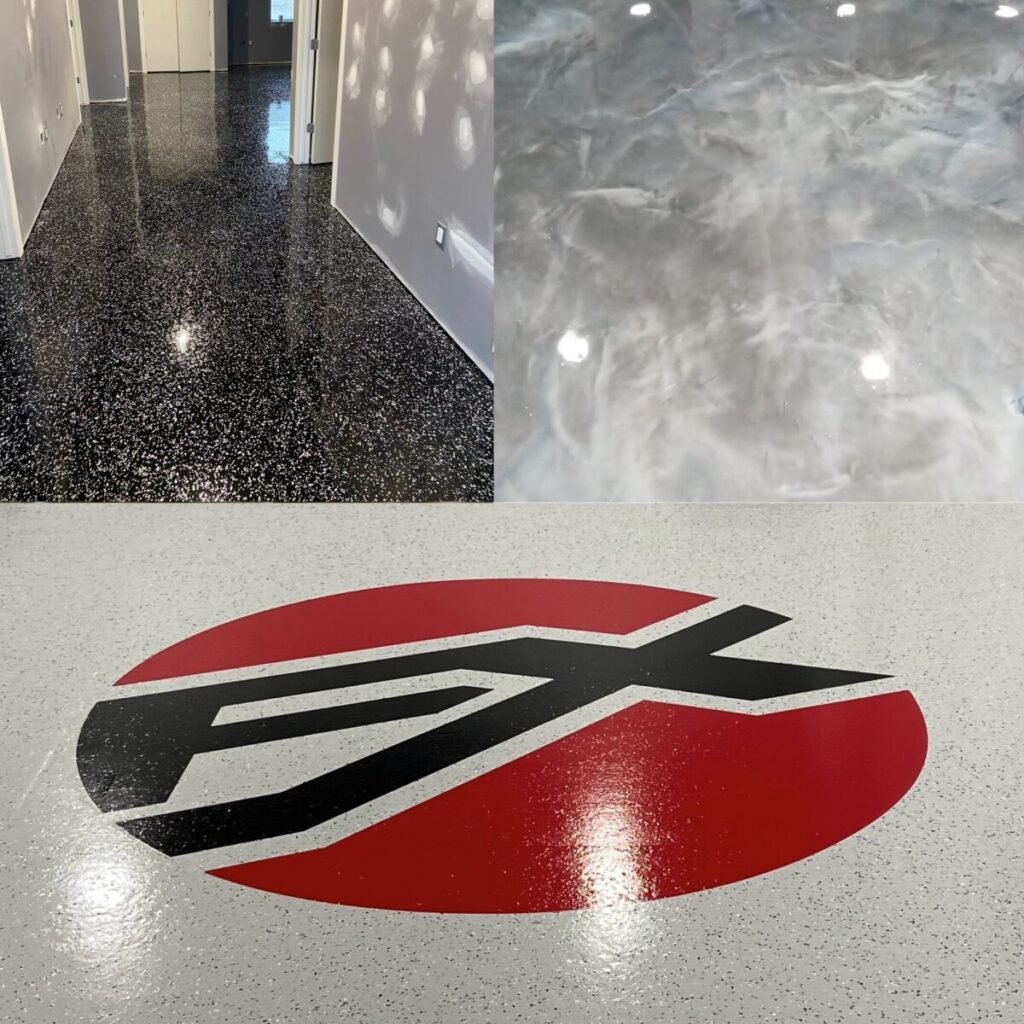
Step 5: Decorative Touches (Optional) – Creating a Custom Look
For a truly unique aesthetic, Pro-Line Epoxy Flooring offers a variety of decorative options. Colored flakes, chips or other decorative touches can be embedded into the epoxy during the application process, creating a distinctive and visually appealing floor.
- Color Flake or Chips
- Metallic
- Company Logo
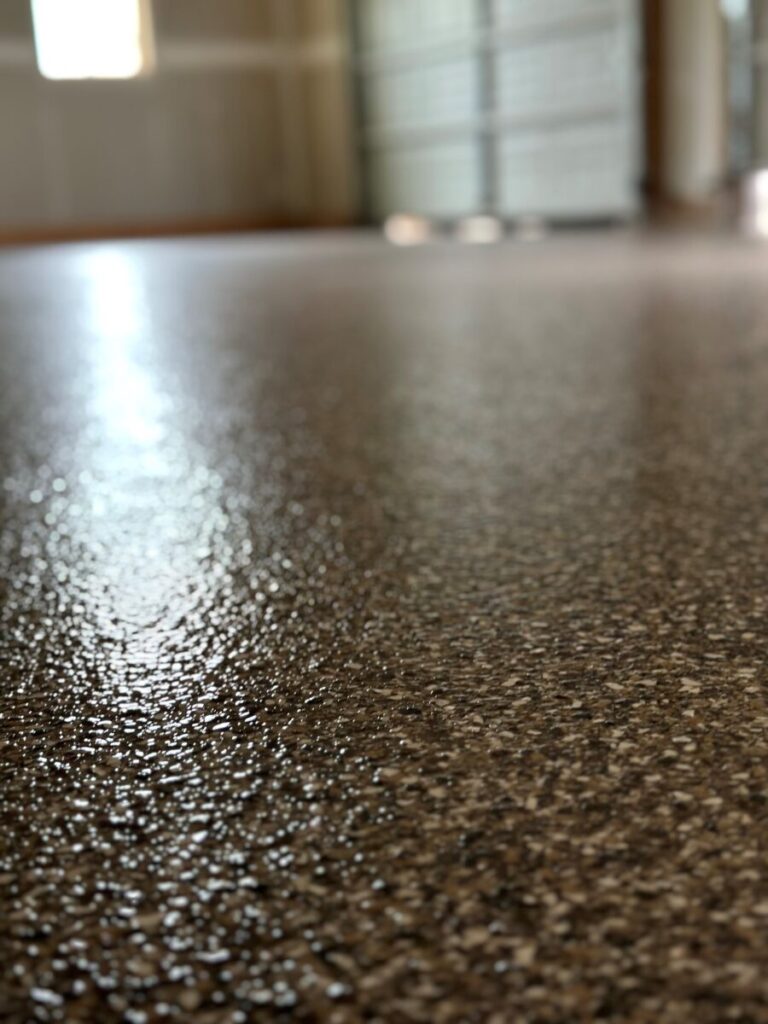
Step 6: Lasting Protection with Choice of Topcoat
Once the epoxy cures completely, we will apply a high-performance topcoat to seal and protect your floor. We will discuss your project requirements and recommend the most suitable topcoat for your needs. We offer two main options to suit your specific needs:
- UV Stable Polyaspartic Topcoat: This final layer is ideal for exceptional durability, UV protection, and resistance to chemical spills. It creates an exceptionally hard yet flexible surface that resists chipping, scratching, scuffing, and everyday wear and tear. Unlike some epoxies that can yellow or fade over time, this UV stable formula ensures your floor maintains its vibrant look for years to come.
- High Traffic Polyurethane: This topcoat is a great choice for areas experiencing heavy traffic and wear. It provides excellent abrasion and chemical resistance, making it perfect for garages, warehouses, and other demanding environments. While not offering the same level of UV protection as the polyaspartic option, it is a very cost-effective solution for high-traffic areas where aesthetics are less of a concern.
Step 7: Curing with Care – Patience is Key
Keep in mind that proper curing is vital for the optimal performance of your epoxy floor. Our team will advise you on the recommended timeframe for avoiding foot traffic and furniture placement to allow the epoxy to fully cure and harden. We’ll also provide detailed aftercare instructions to ensure you get the most out of your beautiful new epoxy floor.
- Ventilation – ensure proper ventilation and maintain a controlled environment for optimal curing.
- Have Patience – Give the floor time to harden and bond to the subfloor.
Experience the Pro-Line Epoxy Difference and Tell A Friend!
At Pro-Line Epoxy Flooring, we take pride in our meticulous attention to detail and exceptional customer service. We use only premium-quality epoxy products and industry-best practices every step of the way. Contact us today for a free consultation and experience the transformative power of professional epoxy flooring for your commercial or residential space in Michigan.